Prepared by: Tpd. Daniel Andrés Zárate A.
Hello! I hope this article will be of great help to you, I have designed it with great detail explaining the importance of knowing that every day the needs of patients are constantly changing, we are currently facing a trend to demanding market requirements to develop optimal dentures, precision, and in the shortest possible time.
Currently we find multiple alternatives for the polymerization process of acrylic resins; vital alternatives that we need to adopt in order to succeed and make the work more expedite, thinking always in the benefit of the patient. Among the different alternatives are: the conventional technique, the microwave technique, the injection technique, and the technique that I will explain below, the Pour technique as it is known in some countries.
Pour polymerization technique
This technique for the polymerization of prostheses optimizes time and profitability in your laboratory. It is ideal because the time constraints imposed currently on laboratories are greater, demanding faster deliveries.
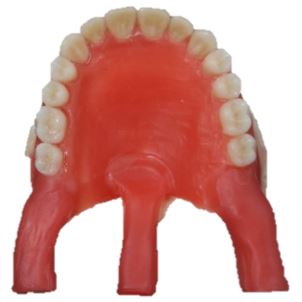
Laboratories have always had an alternative to make prostheses in a manner limited by a thermopolymerizing acrylic resin which requires time to be packed and cured. If we analyze this process, for example for a partial prosthesis, it takes much time and a lot of material to do all the preparation process.
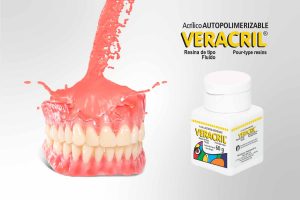
You may find our acrylic resin under the Veracril or Opticryl Pour brands in different dental stores. This special self-polymerizing polymer, different than the self-polymerizing acrylic resin known in the market, called acrylic resin for pouring for denture base, is indicated in the preparation, repair, relining and readjustments of complete or partial prostheses and overdentures, be means of the polymerization system with pressuring and heat.
It is clear that the Pour acrylic resin you will achieve clinical cases in lesser time, with good quality; but we could not compare it to the thermopolymerizing acrylic resin since it has better mechanical properties. What I can tell you is that laboratories need for some clinical cases much more speed and this technique is ideal to optimize the work 30% faster than the conventional heat-curing technique, you have to keep in mind that 80% of the cost in the development of a dental prosthesis by the conventional technique is labor. This means that the Pour polymerization technique, in addition to optimizing the time in the laboratory, will provide greater profitability.
New Stetic as a producer of acrylic resins offers quality and reliability in the acrylic resin Veracril / Opticryl Pour. This acrylic resin is developed with quality standards under ISO 20795-1:2013 Type 2 Class 2 offering reduction of working time in the laboratory as a benefit.
Prepare excellent dental prostheses rapidly using our fast polymerization process. You will soon realize improved work productivity without compromising the quality of your clinical case.
Next, I will explain step by step the correct way to use the technique and the Pour acrylic resin to avoid mistakes in the handling process, and I will explain in detail the correct way to prepare and pour the acrylic resin in the flask.
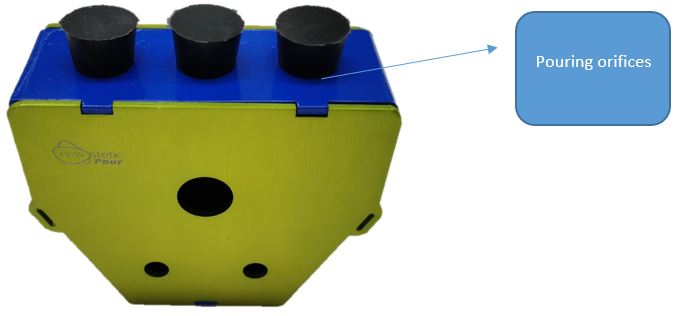
It is important to emphasize in detail that for the use of this technique a special flask must be used. It is a reinforced aluminum flask that consists of base, flask, and assembly lid, this flask has three ducts through which the polymer will be poured in a fluid state. See the image of the flask below.
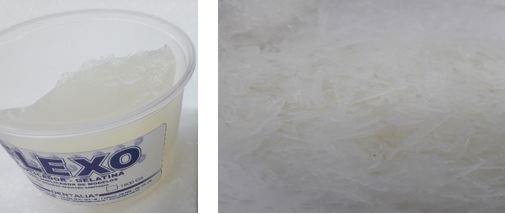
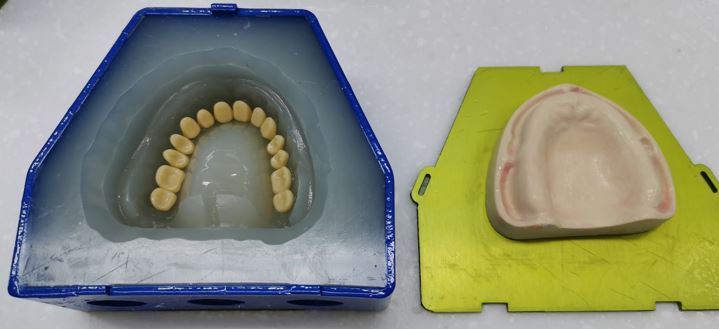
For using the technique, I recommend you make the duplicating of the wax pattern with materials such as hydrocolloid or liquid silicon. The picture below shows and example with hydrocolloid material. It should be scratched as shown on the picture for easy melting.
Then, you must hydrate the model in water for 20 minutes, to avoid the gypsum adhering to the duplicating material.
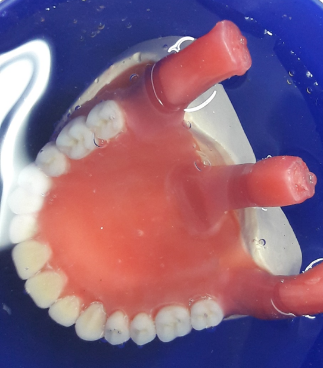
Next, place the model on the base of the flask, if desired, you can adhere it with plasticine to avoid movements during the process of copying the wax pattern. Three wax ducts in the posterior palatal area or two in the lingual area and verify that each wax duct coincides with the center of the holes in the flask to guarantee the faithful copying of the designed wax pattern.
If you want, you can do three connecting troughs on the waxing, or you can do them directly on the duplicating material.
Next, you must do the duplicating of the wax pattern manually or with the material dosing equipment (the use of the equipment is not mandatory for this technique).
After melting the material, it is recommended to pour in the flask when the material is at ambient temperature. I recommend you do it at a height of thirty centimeters to ensure the absence of bubbles caused by air in the environment.
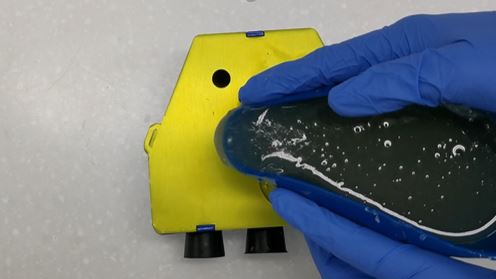
After pouring the duplicating material, take the flask to the pressurizer for 20 minutes at a pressure of 25Psi, this will help to remove all the bubbles from the material.
After this time, you can open the flask, I recommend that you verify very well that the duplicating material is completely solid.
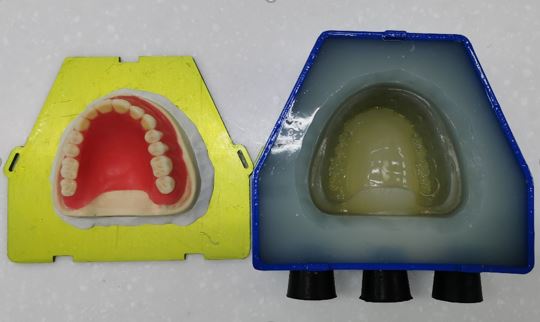
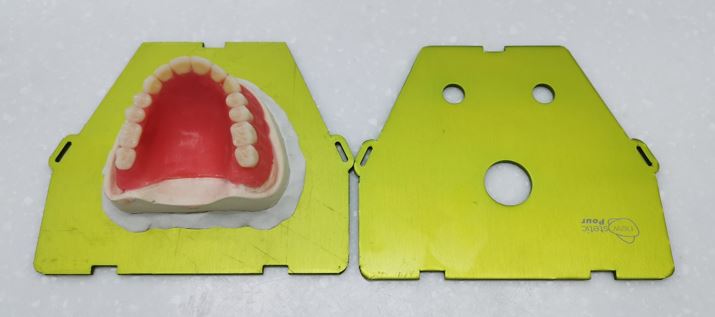
Remove the working model from the duplicating material, ensuring correct copying of the wax pattern. Then remove the teeth from the wax-up and wash them with hot water together with the working model to remove wax residues. Then place the teeth back on the duplicating material.
Apply a thin layer of Novafoil separating gypsum on the model. Allow drying and apply a second thin layer if necessary.

Then check that the ducts are correctly opened to let the acrylic resin flow and obtain a correct copying. Close the flask correctly making sure that the clamps are well positioned.
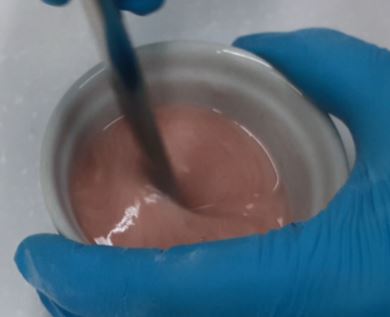
Preparing the acrylic resin
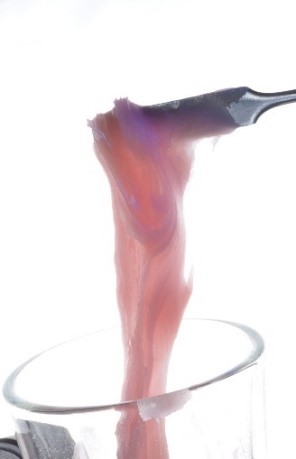
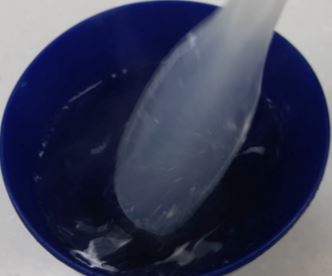
When preparing Veracril/ Opticryl Pour acrylic resin, it is recommended to use the following proportions in unit volume: 2.5 parts of polymer to one part of monomer.
First pour the monomer into the container and then the polymer little by little to ensure that each bead of polymer is wetted with monomer and homogenizes the color properly. Mix in a cross pattern for 30 seconds to avoid the incorporation of air in the mixture, thus avoiding the presence of bubbles in the acrylic resin.
Then proceed to quickly pour the acrylic resin over the ducts. I recommend doing it little by little in an alternating manner so that the wax pattern is copied correctly.
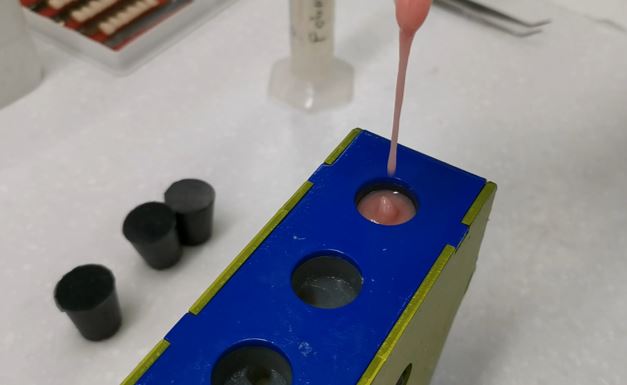
As soon as you have completely filled the three ducts with acrylic resin, locate the black safety stops on the flask and take it to the pressurizer with an amount of water that only reaches half of the flask. To avoid the inclusion of water in the acrylic resin, close the pressurizer correctly and program the time, temperature and pressure as follows.
| TIME | TEMPERATURE | PRESSURE |
| 20 Minutes | 60°c | 30Psi |
Once the polymerization time is over, open the flask, remove the duplicating material, and trim the ducts, then perform the usual process of polishing and surface finishing of the prosthesis with dental laboratory implements.