Prepared by: TPD DANIEL ANDRÉS ZÁRATE A.
Hello, warm greetings, I hope this article will be helpful for you. I have prepared it in great detail to explain how to make a dental prosthesis using the Thermopolymerizable Veracril polymer kit. I have thought about patients and dentists constantly changing needs every day. We are currently facing demanding market trends to develop optimal dental rehabilitation and precision in the shortest possible time, increasingly imitating the dental nature.
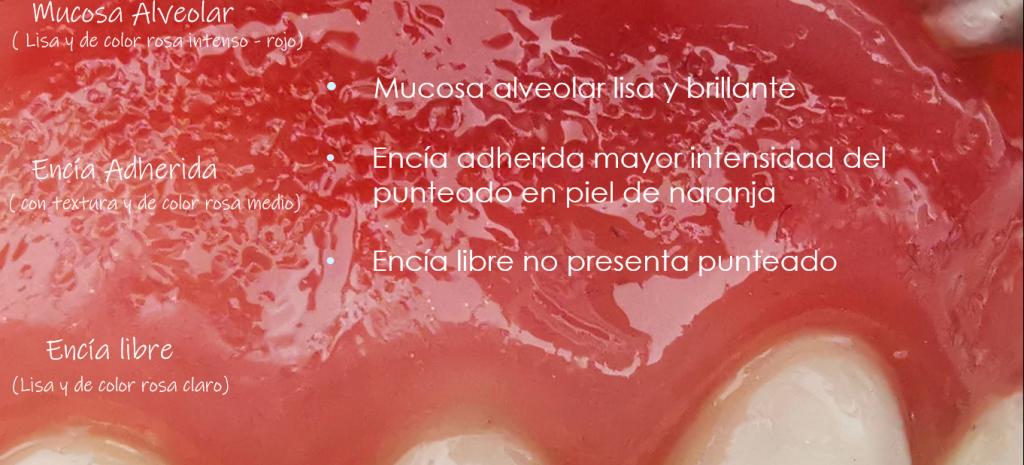
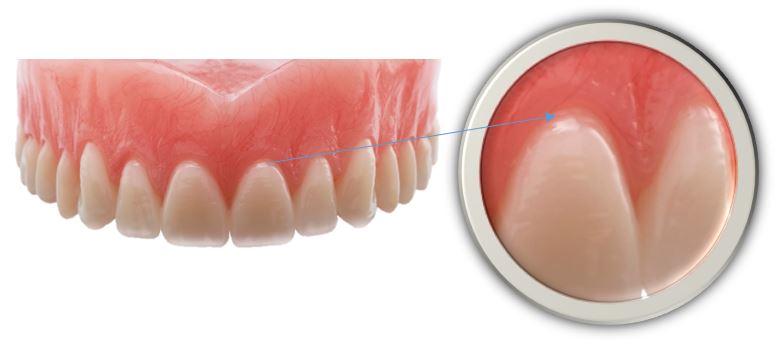
To talk about our core topic regarding a prosthodontics characterization, let me start with a success case. I can tell you that the success of a very good characterization comes from the way we make the gingival waxing and the acrylic resin teeth correct location; for this, we should know very well the parts in which the gum is divided, which I will show you in the following image.
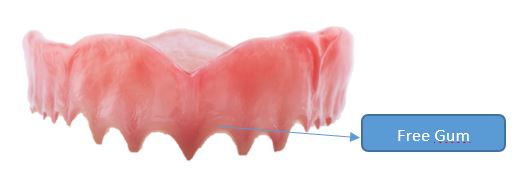
It is important that you apply molten wax homogeneously on the acrylic resin teeth cervical areas, to be able to have the proper tooth height according to the clinical case in the dental prosthesis you are working with. Then you should prepare the gingival margin line of the tooth neck, I am referring to the free gum.
To make the gingival margin, you can use a lecron carver, and bevel the excess wax in the denture or on what is left in the interdental papilla, to avoid accumulating food in the cervical area of the dental prosthesis.
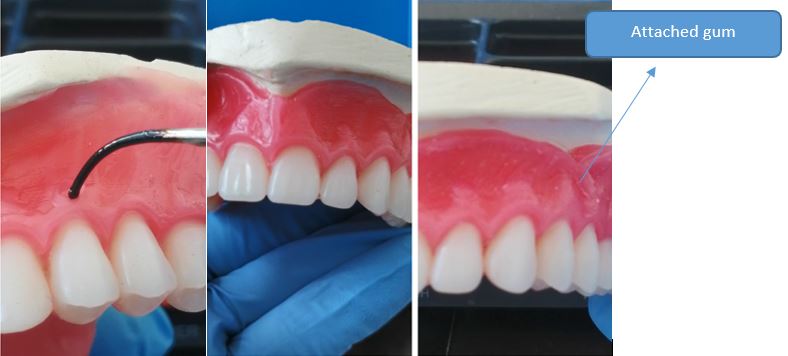
Already having ready this first part of our gingival waxing, for our future dental prosthesis, we are going to focus on the area that will be our adhered gum. For this we need to keep in mind that the idea of designing this area is to create an integration between the acrylic resin teeth and the gingival part of the patient, this area must always feel natural.
We can begin preparing gingival prominences by adding wax little by little giving it the anatomical shape of the rounded gum.
To give a natural integration and functionality aspect our waxing in this area must be molded without oversizing the gingival elevation, otherwise it would look like a dental prosthesis with periodontal problems.
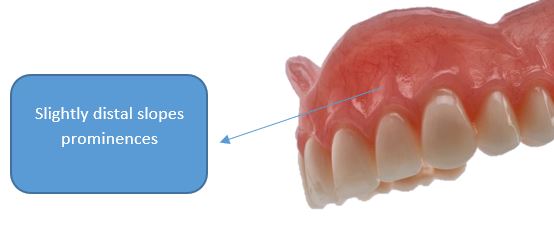
For you to properly wax these prominences, consider the gingival pick inclination which is the most apical point of the gingival arch for each tooth, which under normal conditions is slightly distal in central and canine, on the sides it is perpendicular to the dental pick point. I will explain it clearly in the following dental prosthesis image.

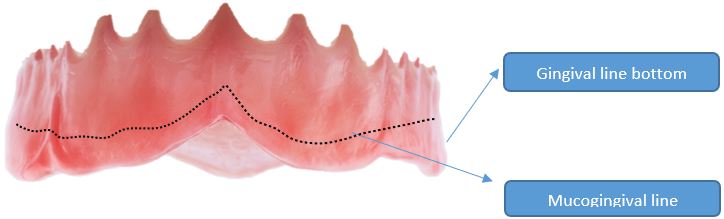
Then make some small v shape hollows on the gum surface adhered almost reaching the mucogingival line so the denture could have an ideal aesthetic. Remember to individualize each of the prominences in a rounded shape with a slight distal inclination. Here you can perform the orange peel effect texture.
Finally, wax the area at the bottom of the sac or line bottom, starting from the mucogingival line, this area is smooth and here is where the mobile oral tissues are located, this area on the dental prosthesis is very important since it should help retention by the mechanical directional forces of muscles and tissues.
With this, I have explained something basic about waxing a denture, remember that artificial teeth used for clinical cases, from the diagnosis point of view should feel the natural the maximum way possible, and respond to all aesthetic and functional parameters, thus achieving the best gingival-dental integration as well as the correct dental-facial relationship in the patient.
Now we have reached the best topic of this article, I will teach you how to perform a Prosthodontics characterization, this time I will tell you a little about acrylic resins we use in the laboratory to achieve dental prostheses with a high chromatic naturalness. I call this clinical diagnosis biomimetics.
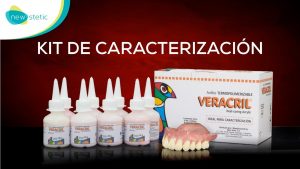
We will use the Veracril characterization kit, which is a thermopolymerizable acrylic resin design to make the gingival characterization of the different areas of a total or partial dental prosthesis.
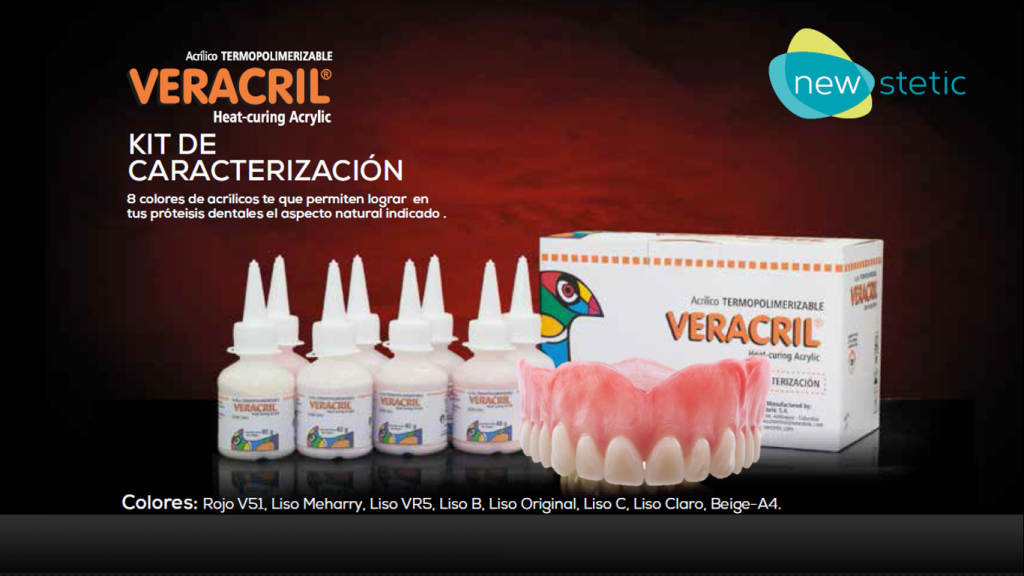
The characterization kit offers great benefits for us as dental technicians, as well as for the dentist and especially for the patient:
It is easy to manipulate during the characterization process either by the mass mixing technique or by the aggregate technique, providing homogenization for the acrylic resin color.
It offers us a wide variety of translucent and opaque colors in light, medium and intense pink tone, which make easy to design and mimic the gum with the patient’s tissues, providing much more naturalness in dental prostheses.
It can be used in several polymerization techniques (Conventional Technique and Microwave Technique) allowing us to have adequate working time for characterization in each area we are working with.
The kit includes eight polymers in pink tones, organized into three light, medium and dark color groups, colors which, from my experience, meet the parameters to achieve a natural characterization in a denture.
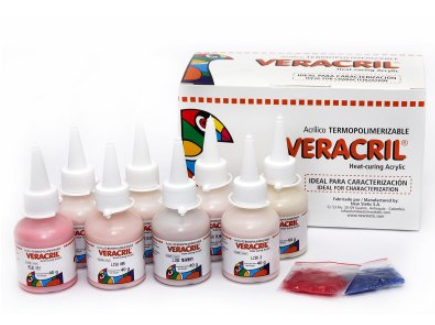
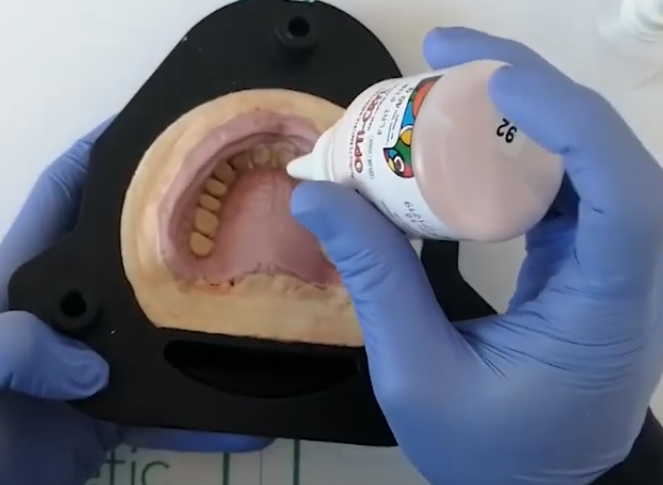
To begin with, take the lids of each container and make a small perforation to achieve the correct material dosage.
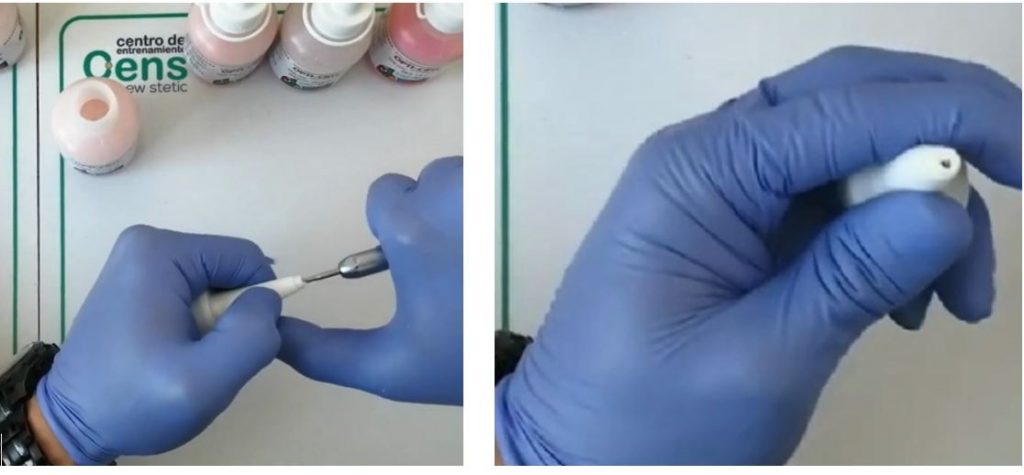
I recommend you make a dosing container with a needle to have Thermopolymerizable Monomer Veracril drops to moisturize the polymer correctly.
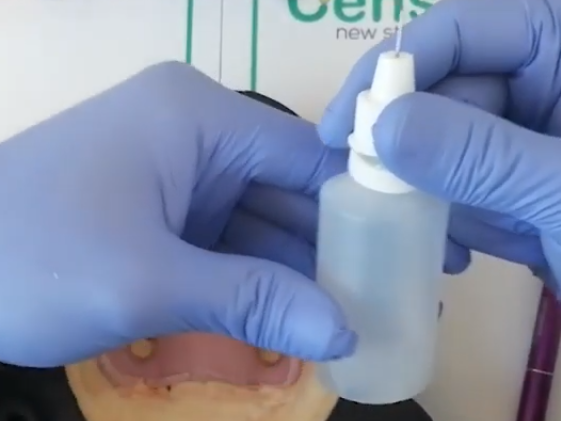
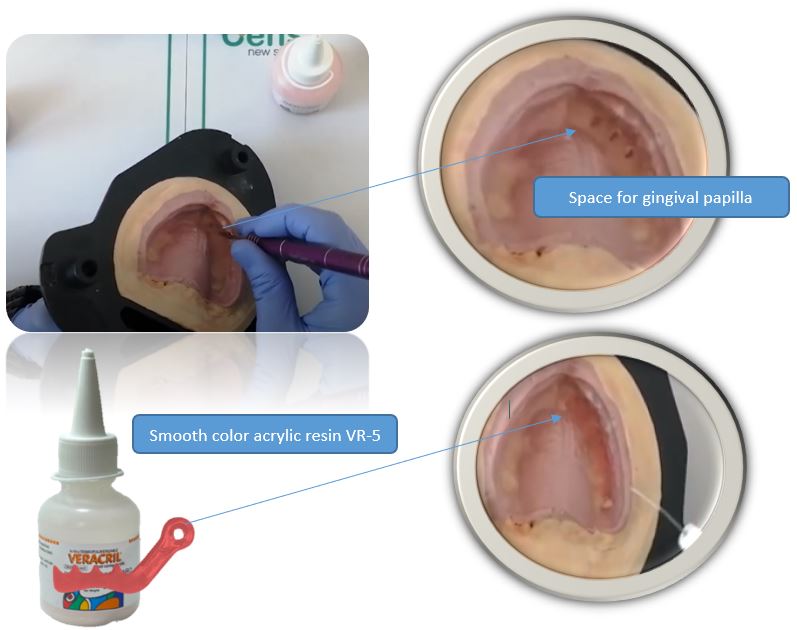
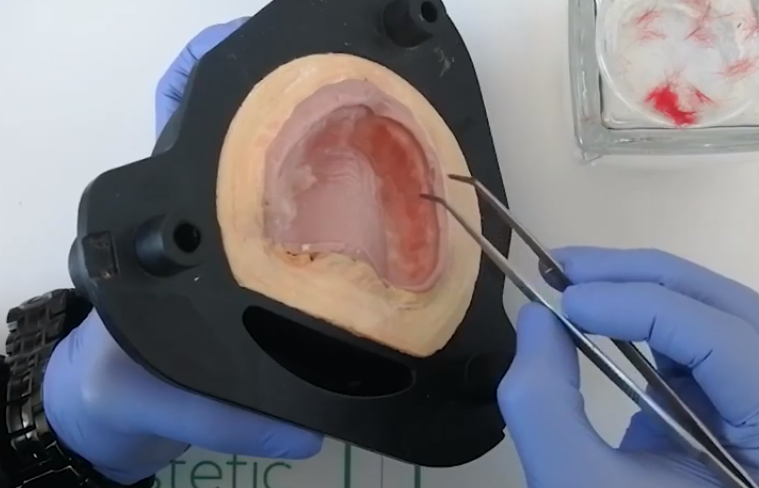
For the gingiva free zone, use the flat pink smooth color, placing the polymer little by little and moisturize it with the Thermopolymerizable Monomer Veracril until you have a polymer with a correct texture, take care that the polymer does not stay liquid on the the artificial teeth heels to avoid color spills.
To achieve a great natural look on the dental prosthesis during these characterized acrylic resins process, open small triangular spaces in the gingival papilla area, then place small portions of smooth polymer VR5 in these spaces, then moisturize with thermopolymerizable monomer Veracril
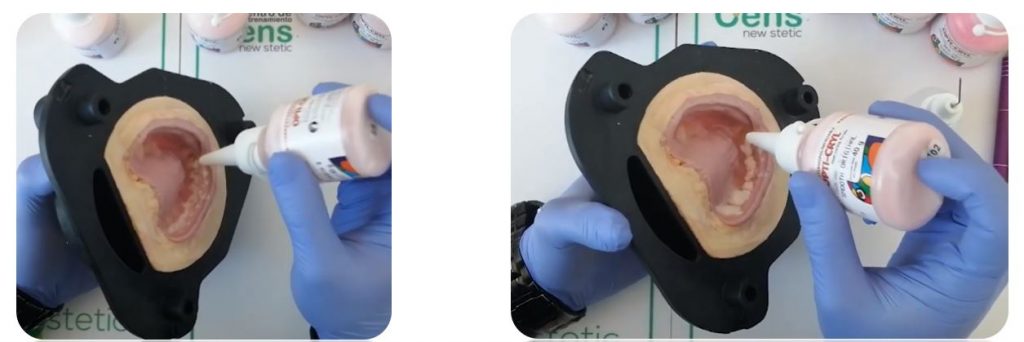
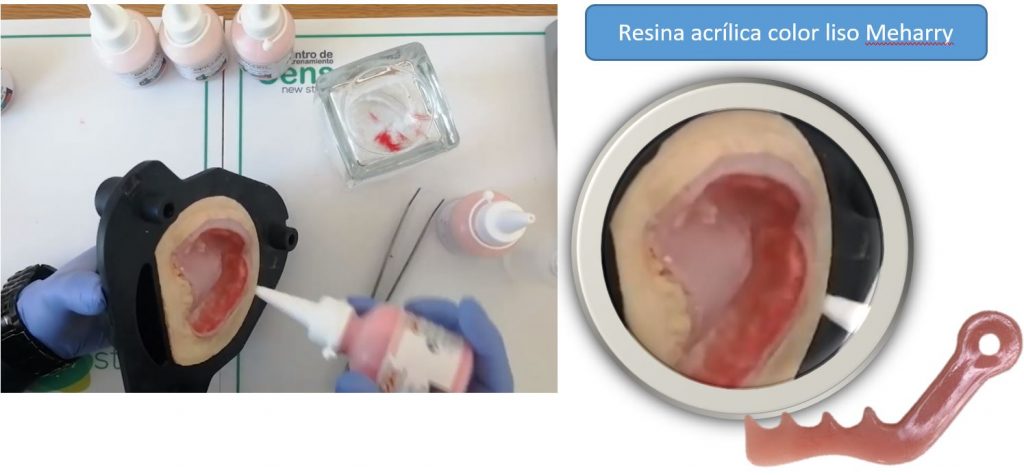
For denture characterization I recommend you use for the adhered gingiva zone (middle part of the gingiva) the following three colors: Smooth B, original smooth and smooth C as follows:
First place a small part of smooth color B, moisturize the polymer with thermopolymerizable monomer, then place a small part of the original smooth color and then moisturize with thermopolymerizable monomer. Finally, place a small amount of smooth color C to generate a pink-yellow appearance and then moisturize with thermopolymerizable monomer.
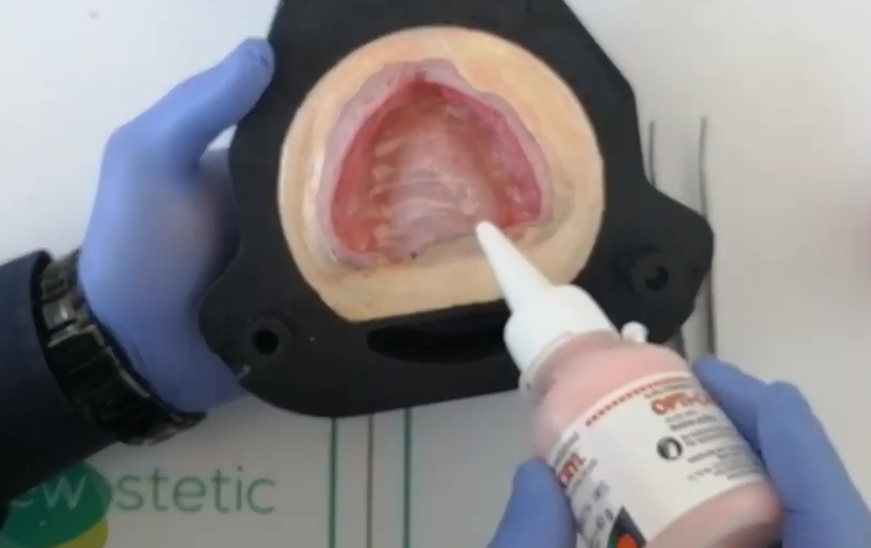
As I mentioned before, the success of a characterized denture is generating an integration between the artificial teeth and the gingiva, at this point you are already in the step to characterize the bottom furrowed gum area (bottom of the sac). The characterization kit includes red and blue fibers that should be placed in this area to simulate the vascularization zone. Take the fibers and separate them little by little as shown in the image.
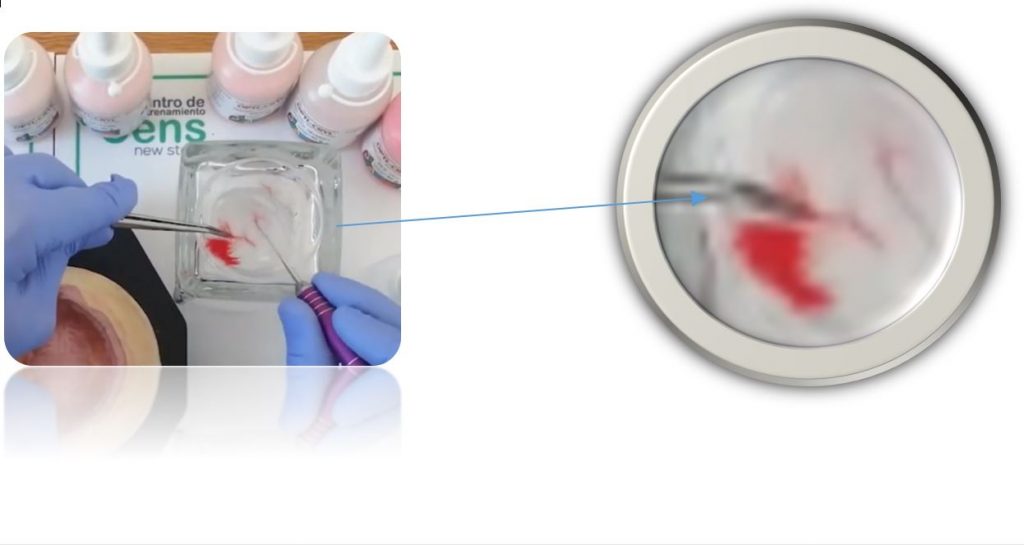
Already having the fibers separated, the ideal is to place a first layer on the groove bottom area, here, keep in mind that the more dispersed the fibers are, the more natural dental prosthesis will look. Then place monomer drops on the fibers to prevent them moving, then place a little of smooth color VR5 on the fibers and continue to hydrate the polymer with thermopolymerizable monomer, then place small amounts of filaments only in this area.
It is very important to highlight the color transition on the denture, for this, place a little meharry smooth polymer, this color has a dark purple hue, be careful not to use too much, I recommend you do it in alternate areas of this portion of the gum. Then hydrate with monomer, place small amounts of red polymer V51 considering that this acrylic resin color is very red, you can mix it with other colors of the kit, I recommend you use smooth VR-5 to make this mixture and place it in small quantities in random areas of the groove bottom area.
With acrylic resins you can also make, if you wish, the characterization of the palatine or lingual area of the denture, you can place small portions of different colors, first meharry polymer smooth color and then hydrate with monomer, then place a little polymer smooth color B, moisturize with monomer, and then flat pink smooth polymer on the palatal furrows, finally place a little smooth VR5 and moisturize with monomer.
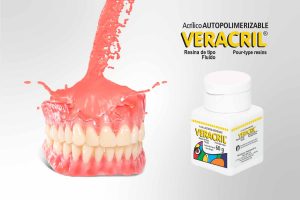
After this process you can start preparing the base acrylic resin for the dental prosthesis, in this step it is vital to respect the proportions between PMMA acrylic resin polymer and monomer as indicated by New Stetic.
If you are going to work with proportions in volume it would be three parts of polymer for one part of monomer. If you are going to do it by weight prepare two parts of polymer for one part of monomer.
Prepare the acrylic resin in a suitable container; first pour the monomer into the container, and then pour the polymer little by little and mix in a cross shape to avoid air to be added to the mix, then cover the container to avoid the monomer evaporation, and also to avoid losing the mixture properties.
Finally, you can use the polymerization technique you have in the laboratory, I recommend that you follow all the instructions for using the product and have optimal results.
I hope this article will help to give support in your laboratory, for more information on the use of the characterization kit and the correct handling of acrylic resins, you can see the tutorial here.